Prerequisites
Implement the SDK of your choice in your project
FCM_TOKEN (expand for instructions)
PROJECT_NUMBER (expand for instructions)
PRIVATE_TOKEN (expand for instructions)
Regenerate and Download the Service Account Key
You can skip this step if you already generated the file
- Go to the Firebase Console
- Select Your Project: Choose the project for which you want to send messages.
3. Navigate to Project Settings: Click on the gear icon next to "Project Overview" and select "Project settings".
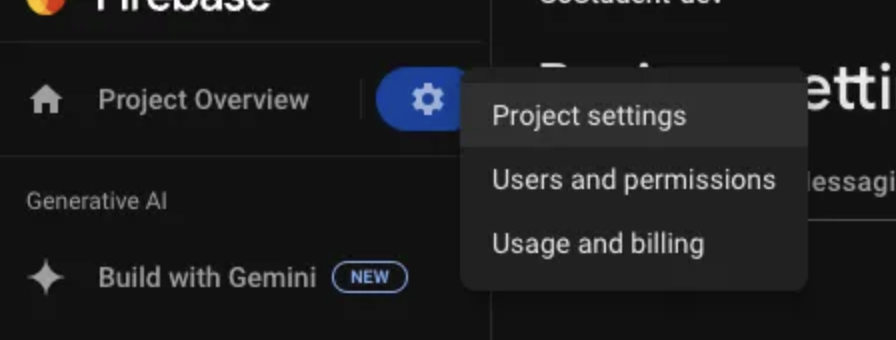
- Service Accounts: Go to the “Service accounts” tab.
- Generate a New Private Key: Click on “Generate new private key” button. This will download a new JSON file containing your service account key.
- Add the creds using the following command.
export GOOGLE_APPLICATION_CREDENTIALS="path/to/service-account-file.json"
Generate PRIVATE_TOKEN using gcloud
- Install clould from here
- Generate the token (it could prompt you to log in with your firebase account)
gcloud auth application-default print-access-token
Expected for example
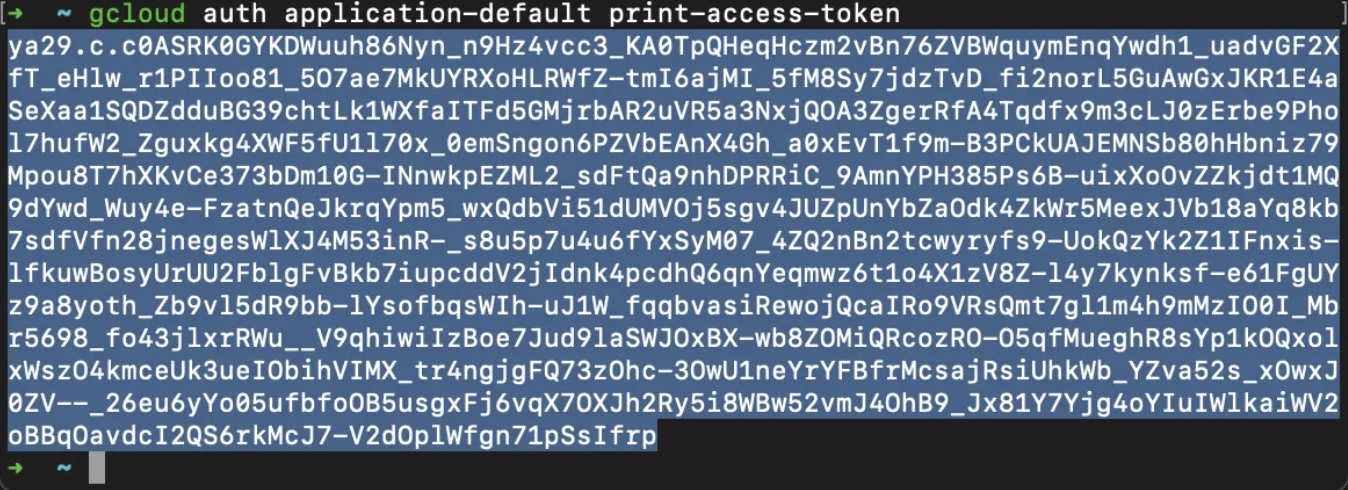
Keep in mind that In some short time it can expire and you can see a 401 Unauthorized error But don’t worry you don’t need to go through the whole process again. If this happens you just need to execute gcloud auth application-default print-access-token again
Step 1
Copy the CURL
curl --request POST \\
  --url <https://fcm.googleapis.com/v1/projects/{PROJECT_NUMBER}/messages:send> \\
  --header 'Authorization: Bearer {PRIVATE_TOKEN}' \\
  --header 'Content-Type: application/json; UTF-8' \\
  --data '{
 "message": {
  "token": "{FCM_TOKEN}",
  "data": {
   "title": "Test Data Message",
   "message_body": "This is a test data message",
   "customKey1": "value1",
   "customKey2": "value2"
  }
 }
}'
⚠ Remember to change the creds marked between curly braces
Step 2
Step 3
Paste the CURL into Insomnia or Postman and send it